
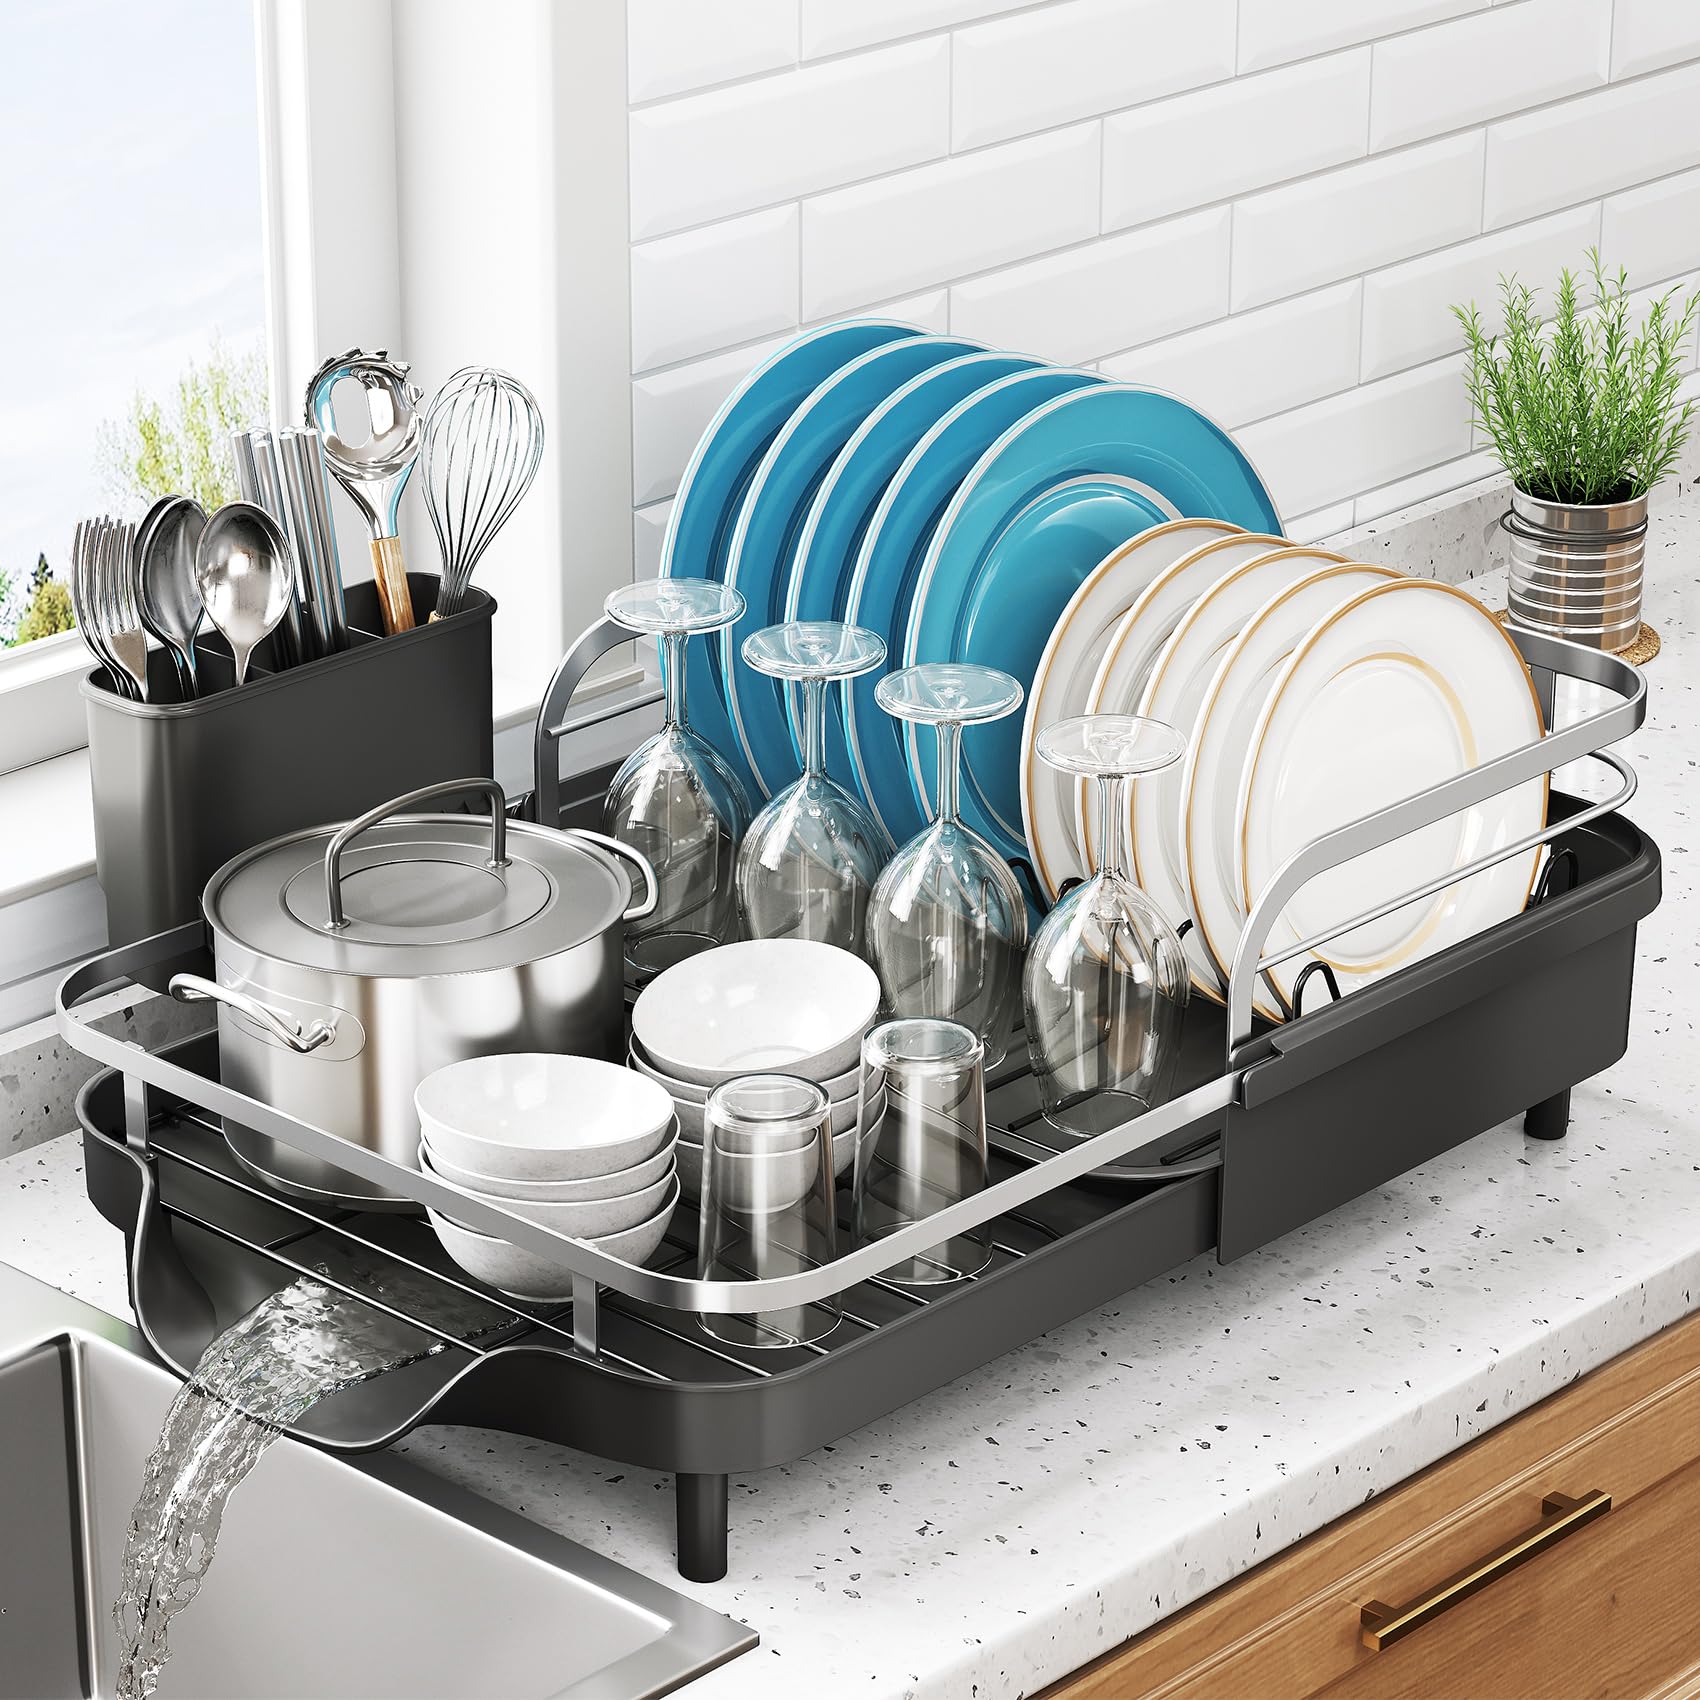
Your dish drying rack works hard every day, catching water and holding your clean dishes. But when was the last time you gave it a good clean?
If you’ve noticed a funky smell or stubborn stains, it’s time to take action. Cleaning your dish drying rack not only keeps your kitchen fresh but also helps prevent germs from spreading. You’ll discover simple and effective ways to make your drying rack sparkle again.
Keep reading—you’ll be amazed at how easy it is to keep your kitchen cleaner and healthier!
Credit: www.amazon.com
Gather Cleaning Supplies
Gathering the right cleaning supplies is the first step to clean your dish drying rack effectively. Having everything ready saves time and makes the process smooth. It also helps remove dirt, grime, and bacteria thoroughly.
Essential Tools
- Soft sponge or scrub brush
- Old toothbrush for tight spots
- Clean cloth or microfiber towel
- Bucket or basin for soaking
- Gloves to protect your hands
Recommended Cleaning Agents
- Mild dish soap to cut grease
- White vinegar for disinfecting
- Baking soda to remove stains
- Warm water to loosen debris

Credit: www.facebook.com
Disassemble The Rack
Disassembling your dish drying rack makes cleaning easier and more effective. Taking it apart helps reach all hidden spots where dirt and grime build up. It also prevents damage during washing and keeps each piece clean.
Remove Detachable Parts
Start by identifying parts that come off easily. These may include trays, utensil holders, and drip trays. Gently pull or slide each piece away from the main rack. Place the parts on a clean surface to avoid losing small pieces. Check for clips or locks that hold parts together. Unlock them carefully to avoid breaking.
Prepare For Cleaning
After disassembly, rinse each part with warm water. Use mild soap to remove surface dirt. Fill a basin or sink with warm, soapy water for soaking. Soak detachable parts for 10 to 15 minutes to loosen grime. Use a soft brush or sponge to scrub away residue. Rinse all parts well to remove soap. Dry each piece thoroughly before reassembling. This prevents mold and rust from forming later.
Soak In Warm Soapy Water
Warm soapy water helps loosen dirt and grease on your dish drying rack. Let it soak for 15-20 minutes to make cleaning easier and more effective.
Cleaning your dish drying rack might not be top of mind, but it’s essential for maintaining kitchen hygiene. One effective way is to soak it in warm soapy water. This method ensures that stubborn grime and bacteria are loosened and easily wiped away, leaving your rack sparkling clean and safe for use.Soaking Duration
How long should you soak your dish drying rack? A good rule of thumb is to let it sit for at least 15 to 20 minutes. This duration allows the soap to penetrate and break down any build-up effectively. If your rack hasn’t been cleaned in a while, consider extending the soaking time.Benefits Of Soaking
The benefits of soaking your dish drying rack are numerous. Firstly, it helps in removing the residue that rinsing alone can’t tackle. Think of the hidden spots where soap scum and food particles accumulate. Moreover, soaking can prevent rust and discoloration, especially if your rack is made of metal. It also saves you time and effort, making the wiping process easier. Have you ever noticed a foul odor emanating from your rack? Soaking helps eliminate these unpleasant smells, ensuring a fresh kitchen environment. Remember, a clean drying rack means cleaner dishes. Are you ready to give your dish rack the care it deserves?
Credit: www.lemon8-app.com
Scrub Away Dirt And Grime
Scrubbing away dirt and grime is a key step to keep your dish drying rack clean and hygienic. Over time, water spots, soap scum, and food particles build up, making your rack less effective and unsightly. A thorough scrub not only restores its shine but also prevents bacteria growth that could affect your dishes.
Using Brushes And Sponges
Choosing the right tool makes scrubbing easier and more effective. A soft sponge works well on smooth surfaces and delicate parts, gently removing surface dirt without scratching. Meanwhile, a small brush or an old toothbrush can reach tight corners and grooves where grime tends to hide.
I once underestimated the power of a toothbrush and was surprised at how much gunk it removed from the rack’s crevices. You don’t need special brushes; even a clean nail brush can do the job well. Make sure to rinse your tools after use to avoid spreading bacteria back onto the rack.
Targeting Tough Spots
Tough spots often appear around joints and where water pools. These areas might have stubborn stains or mineral deposits that a quick wipe won’t fix. Apply a bit of baking soda or a mild dish soap directly to these spots and scrub with a brush to break down the grime.
Have you noticed any stubborn discoloration or sticky residue on your rack? Addressing these areas promptly stops buildup from becoming permanent. After scrubbing, rinse thoroughly and dry the rack completely to keep it fresh and ready for your dishes.
Remove Mold And Mildew
Mold and mildew often grow on dish drying racks due to constant moisture. These fungi create dark spots and a musty smell. Removing them is important for hygiene and to keep your kitchen fresh. Cleaning mold and mildew also protects your health.
Use effective methods to clean and prevent these growths. Proper care extends the life of your drying rack and keeps it safe for your dishes.
Natural Cleaning Solutions
Natural cleaners are safe and effective against mold and mildew. Vinegar and baking soda are common choices. Vinegar kills mold spores and removes stains. Baking soda scrubs away dirt and absorbs odors.
- Mix equal parts white vinegar and water in a spray bottle.
- Spray the affected areas and let sit for 10 minutes.
- Sprinkle baking soda on the rack, then scrub with a brush.
- Rinse thoroughly with warm water and dry completely.
Lemon juice can also help by breaking down mold and leaving a fresh scent. Use a sponge to apply lemon juice on moldy spots, let it sit, then rinse.
Preventing Regrowth
Stopping mold from coming back is key. Keep your dish drying rack dry after each use. Wipe it down with a clean cloth or towel. Air circulation helps reduce moisture buildup.
- Place the rack in a well-ventilated area.
- Clean the rack regularly with vinegar or baking soda.
- Avoid leaving wet dishes on the rack for too long.
- Consider using a fan or dehumidifier in humid kitchens.
Follow these steps to maintain a clean, mold-free drying rack. This keeps your kitchen healthier and your dishes safe.
Rinse And Dry Thoroughly
Rinsing and drying your dish drying rack thoroughly is a crucial step to keep it clean and free from bacteria. Skipping this step can leave soap residue or moisture trapped, which invites mold and unpleasant odors. Paying close attention to how you rinse and dry can extend the life of your rack and keep your kitchen hygienic.
Proper Rinsing Techniques
Start by using warm water to rinse off all soap and debris from every corner of the rack. Pay special attention to joints and crevices where grime tends to accumulate. Use a soft brush or sponge to gently scrub these spots while rinsing to ensure no residue remains.
Make sure to rinse both the top and underside thoroughly. Leftover soap can cause slippery surfaces, making your drying rack less effective. Have you noticed any sticky spots on your rack after washing? That’s usually soap buildup that needs extra rinsing.
Air Drying Tips
Once rinsed, place your dish drying rack in a well-ventilated area to dry completely. Avoid putting it away while still damp, as trapped moisture encourages mold growth. You can set it near a sunny window or use a clean towel to pat off excess water before air drying.
Consider flipping the rack upside down periodically to allow water to drain fully. This simple habit prevents water from pooling in any part of the rack. Have you tried this before? It can make a noticeable difference in keeping your rack dry and fresh.
Reassemble And Maintain
After cleaning your dish drying rack, reassembling and maintaining it properly keeps it functional and hygienic. Taking time to put parts back correctly prevents damage and ensures stability.
Putting Parts Back
Start by drying each piece thoroughly to avoid moisture buildup. Place the tray at the base, aligning it with the rack’s grooves. Insert the utensil holder in its slot, making sure it fits securely. Reattach any removable racks or sections by snapping or sliding them into place. Check for loose parts and tighten any screws or clips as needed. A well-assembled rack stays sturdy and holds your dishes safely.
Regular Cleaning Schedule
Set a simple routine to clean your drying rack weekly. Wipe down surfaces with a mild soap solution and a soft cloth. Rinse and dry completely to stop mold and rust growth. Empty and clean the tray to remove water and food debris. Inspect the rack for any signs of wear or damage. Regular care extends the life of your rack and keeps your kitchen fresh.
Frequently Asked Questions
How Often Should I Clean My Dish Drying Rack?
Clean your dish drying rack weekly to prevent mold and bacteria buildup. Regular cleaning keeps it hygienic and odor-free.
What Is The Best Way To Clean A Drying Rack?
Use warm soapy water and a soft brush to scrub your drying rack. Rinse thoroughly and air dry completely before use.
Can I Use Vinegar To Clean My Drying Rack?
Yes, vinegar is effective for removing mineral deposits and disinfecting. Soak the rack in vinegar for 10 minutes, then rinse well.
How Do I Remove Mold From My Dish Drying Rack?
Scrub the moldy areas with a mixture of baking soda and water. Rinse thoroughly and dry the rack in sunlight to prevent mold return.
Conclusion
Cleaning your dish drying rack keeps it fresh and lasts longer. Regular washing stops mold and grime build-up. Use mild soap and warm water for best results. Dry the rack fully before using it again. Simple steps make a big difference in kitchen hygiene.
Keep your rack clean for a healthier home. Small efforts bring a cleaner, safer kitchen space. Try these tips often to maintain your drying rack well.