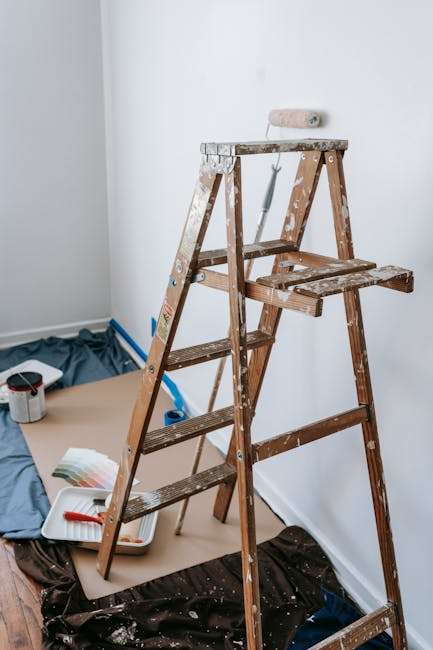
Are you tired of your plain Ikea spice racks blending into the background of your kitchen? Imagine turning those simple shelves into eye-catching pieces that show off your style and brighten up your space.
Painting your Ikea spice racks is easier than you think, and with the right tips, you can achieve a professional look without spending a fortune. You’ll discover step-by-step how to transform your spice racks quickly and effortlessly. Keep reading to unlock the secrets that will make your kitchen pop and keep your spices organized in style!
Choosing The Right Paint
Choosing the right paint for your Ikea spice racks can make all the difference between a quick project and a lasting transformation. The paint you select affects not just the look but also the durability and feel of the finished piece. Understanding your options and how to prepare your rack will save you time and frustration.
Types Of Paint For Wood
Wood surfaces like Ikea spice racks respond well to certain types of paint. Acrylic latex paint is a popular choice because it dries fast, cleans easily with water, and offers good coverage. Oil-based paint, though less common today, provides a tough finish that resists chipping but takes longer to dry and needs mineral spirits for cleanup.
Spray paint is another option, especially if you want a smooth, even coat without brush marks. However, it requires good ventilation and careful masking to avoid overspray. Think about the finish you want: matte, satin, or glossy—each has its own feel and level of shine.
Color Selection Tips
Color isn’t just about aesthetics; it impacts how your spice rack fits into your kitchen’s vibe. If your kitchen is bright and busy, a neutral or soft color might help the rack blend rather than compete. On the other hand, a bold color can make the rack a focal point, adding personality and fun.
Consider the spices you store too. Darker racks can make colorful labels pop, making it easier to find what you need. Don’t be afraid to test small paint patches on the rack to see how the color changes under your kitchen’s lighting before committing.
Preparing For Durability
Paint lasts longer and looks better when you prepare your rack properly. Start by sanding the wood lightly to remove the factory finish and create a rough surface for the paint to grip. Clean off dust and grease with a damp cloth and allow it to dry completely.
Applying a primer designed for wood is crucial. It seals the surface and helps the paint adhere evenly. If you skip this, you might notice peeling or uneven color over time. Remember, a well-prepped surface means fewer touch-ups down the road.
Credit: www.consumercredit.com
Gathering Necessary Supplies
Gather paint, primer, sandpaper, and brushes before starting. Choose supplies that fit your budget and project size. Preparing well saves time and ensures better results.
Gathering the right supplies is crucial for painting Ikea spice racks. Proper preparation ensures a smooth painting process. It also enhances the final look of your racks. Let’s explore the essentials you need.Essential Tools
Start by collecting all necessary tools. You will need sandpaper for smoothing surfaces. Paintbrushes are essential for even application. Get a primer to prepare the wood. Choose your favorite paint color. Don’t forget a sealant to protect your work.Protective Gear
Safety is important when painting. Wear gloves to protect your hands. A mask keeps you safe from fumes. Goggles shield your eyes from splashes. An apron or old clothes prevent paint stains.Workspace Setup
Choose a well-ventilated area for your project. Lay down a drop cloth to catch spills. Organize your tools within easy reach. Ensure good lighting for detailed work. Keep a trash bin nearby for waste.Preparing The Spice Rack
Preparing your Ikea spice rack before painting sets the foundation for a smooth and long-lasting finish. Skipping or rushing this stage can lead to peeling paint and an uneven surface. Taking your time here ensures the final look will be both beautiful and durable.
Cleaning And Sanding
Start by wiping down the spice rack thoroughly to remove dust, grease, and any food residue. Use warm soapy water and a soft cloth for best results. Let it dry completely before moving on.
Next, sand the entire surface lightly using fine-grit sandpaper. This helps the paint stick better by creating a slightly rough texture. Don’t press too hard—you want to dull the glossy finish, not damage the wood or laminate.
Removing Hardware
Take off all knobs, hooks, or metal racks attached to your spice rack. This step might seem tedious but painting around hardware leads to uneven coverage and chipping. Use a screwdriver or pliers, and keep all pieces in a safe spot for reassembly.
Have you ever tried painting over handles only to peel the paint off later? Removing them now saves you time and frustration later.
Priming The Surface
Applying a primer is key, especially if your spice rack is made of laminate or MDF. Primer helps seal the surface and improves paint adhesion. Choose a primer suitable for the material—oil-based for laminate or wood, and shellac-based for MDF.
Use a brush or a small roller to spread a thin, even coat. Let it dry fully before adding your paint layers. This extra step might seem like a hassle, but it keeps your paint job looking fresh much longer.
Painting Techniques
Painting techniques play a key role in transforming your Ikea spice racks. Choosing the right method helps achieve a smooth, long-lasting finish. It also brings out your creativity by adding personal touches. Understanding the basics makes the process easier and more enjoyable.
Brush Vs. Spray Painting
Brush painting gives you control over small areas and details. It is perfect for edges and corners. Spray painting covers large surfaces quickly and evenly. It creates a smooth, professional look without brush marks. Choose brush painting for precision. Use spray painting for speed and smoothness.
Applying Base Coats
Start with a clean, dry surface for the best results. Use a primer to help paint stick better. Apply thin, even layers of base coat. Let each layer dry fully before adding the next. Multiple thin coats prevent drips and uneven spots. The base coat sets the foundation for color and durability.
Adding Details And Finishes
Details make your spice rack unique and stylish. Use fine brushes to add patterns or designs. Stencils can help create clean shapes and lines. Finish with a clear coat to protect your work. Matte, satin, or glossy finishes change the rack’s look. Choose a finish based on your style and use.
Drying And Curing
Drying and curing are key steps in painting Ikea spice racks. Proper drying ensures the paint sticks well and lasts longer. Curing strengthens the paint, making it durable against scratches and moisture. Skipping or rushing these steps can cause peeling or uneven color.
Optimal Drying Conditions
Keep the spice rack in a warm, dry place. Avoid direct sunlight that can dry paint too fast. High humidity slows drying and may cause bubbles. Good air circulation helps paint dry evenly. Maintain room temperature between 65°F and 75°F for best results.
Timing Between Coats
Wait for the first coat to dry completely. Usually, this takes 1 to 2 hours. Touch the surface gently to check dryness. Apply the next coat only when the paint feels dry to touch. Too soon can cause smudging or uneven layers. Multiple thin coats work better than one thick coat.
Final Touches
After the last coat, let the rack dry for 24 to 48 hours. This allows the paint to cure fully. Avoid heavy use or washing during this period. For extra protection, apply a clear sealant once paint is cured. This adds shine and protects against stains.
Reassembling And Installing
After painting your Ikea spice racks, the final phase is reassembling and installing them. This stage is crucial because it ensures your spice racks look great and function well. Taking care during this step will keep your racks sturdy and your kitchen organized.
Attaching Hardware
Start by attaching any hardware you removed before painting, such as knobs or handles. Use a screwdriver that fits the screws well to avoid stripping them. If your hardware looks dull, consider swapping it for new pieces to give your racks a fresh, updated look.
Make sure screws are tight but don’t overtighten, as this can crack the wood or plastic. Take your time aligning the hardware so it sits evenly. Have you noticed how small details like hardware can change the entire feel of your spice rack?
Mounting Options
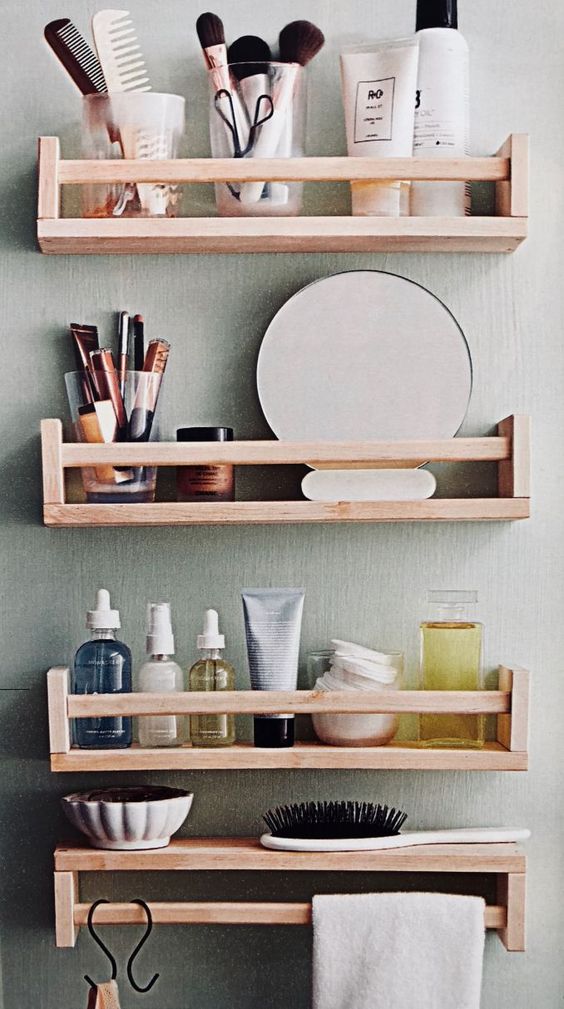
Decide where you want to place your spice racks: on the wall, inside a cabinet, or on a countertop. For wall mounting, use a level to make sure the racks hang straight. Anchors or wall plugs are essential if you’re mounting on drywall to keep your racks secure.
- Wall mounting:Use screws and anchors for stability.
- Inside cabinet:Attach with adhesive strips or screws depending on weight.
- Countertop:Place as is or add non-slip pads underneath.
Think about how you use your spices daily—should they be easy to reach or tucked away? Your choice will affect the installation method.
Maintenance Tips
Once installed, keeping your painted spice racks clean will maintain their look. Wipe with a damp cloth regularly to remove dust and spills. Avoid harsh chemicals that could damage the paint finish.
If you notice paint chipping over time, touch it up with matching paint to keep the rack looking fresh. Also, check screws and mounts every few months to ensure everything stays secure. How often do you inspect your kitchen fixtures for wear and tear?
Creative Customization Ideas
Giving your Ikea spice racks a personal touch can turn a simple kitchen item into a standout feature. Creative customization not only enhances the look but also makes your spice storage more functional and fun. Let’s explore some easy ways to add character and practicality to your racks.
Stenciling Designs
Stenciling lets you add patterns or words with precision. You can choose floral, geometric, or even kitchen-themed stencils to match your style. Try using contrasting colors to make the design pop against the base paint of your spice rack.
Think about labeling each shelf or jar area with stenciled names like “Basil” or “Paprika.” This small detail helps you stay organized and looks visually appealing. Using a sponge or stencil brush ensures clean edges and avoids paint bleeding.
Using Decals And Stickers
Decals and stickers are quick ways to personalize your spice racks without a mess. You can find waterproof and durable options that stick well to painted surfaces. Choose from vintage labels, fun icons, or even custom print your own designs for a unique touch.
Applying decals lets you switch up your style easily whenever you want a fresh look. Have you thought about using chalkboard stickers so you can write and erase spice names as you refill? This adds flexibility and keeps your rack looking neat.
Incorporating Chalkboard Paint
Painting a section of your spice rack with chalkboard paint opens up creative possibilities. You can write spice names, cooking tips, or even little notes for family members right on the rack. This makes your kitchen interactive and practical.
Chalkboard paint also helps when you change your spices frequently since you can erase and update labels instantly. Consider adding a small chalk ledge or attaching chalk sticks nearby to keep everything handy. How could this feature change your kitchen routine?

Credit: www.instagram.com

Credit: www.facebook.com
Frequently Asked Questions
How Do I Prepare Ikea Spice Racks For Painting?
Clean the racks thoroughly and sand them lightly. Remove any dust to ensure the paint adheres well. Use painter’s tape to protect areas you don’t want painted.
What Type Of Paint Is Best For Ikea Spice Racks?
Use spray paint or acrylic paint designed for wood or metal. Choose a paint that offers durability and a smooth finish for lasting results.
How Many Coats Of Paint Should I Apply?
Apply 2 to 3 thin coats of paint. Allow each coat to dry completely before applying the next for a smooth, even finish.
Can I Paint Ikea Spice Racks Without Sanding?
Sanding is recommended but not mandatory. Light sanding helps the paint stick better and prevents peeling. Skip sanding only if the surface is already smooth.
Conclusion
Painting Ikea spice racks adds a fresh look to your kitchen. You can choose colors that match your style. Simple steps make the process easy and fun. Use the right paint and tools for best results. Let the paint dry fully before use.
Enjoy a unique spice rack that fits your taste. Small changes can brighten your cooking space. Try painting your rack for a personal touch today.