
Your drying dish rack works hard every day, catching drips and holding your clean dishes. But have you ever stopped to think about how clean your dish rack really is?
Over time, it can collect grime, mold, and bacteria that you don’t want near your dishes. If you want to keep your kitchen fresh and your dishes truly clean, learning how to clean your drying dish rack properly is a must.
In this guide, you’ll discover simple, effective steps that anyone can follow to make your dish rack spotless and safe. Ready to make your kitchen shine? Let’s dive in!
Choosing The Right Cleaning Tools
Choosing the right cleaning tools makes the task easier and more effective. The right supplies help remove dirt and grime without damaging your drying dish rack. Simple tools and the right cleaner keep your rack fresh and hygienic. This section covers the essential supplies and compares natural and chemical cleaners.
Essential Supplies
- Soft sponge or cloth to avoid scratches
- Small brush or old toothbrush for corners
- Mild dish soap to cut grease
- White vinegar to remove mineral deposits
- Microfiber towel for drying
- Bowl or basin to soak removable parts
Natural Vs. Chemical Cleaners
Natural cleaners are gentle and safe for most surfaces. White vinegar and baking soda fight bacteria and dissolve stains well. They leave no harsh smell and are eco-friendly.
Chemical cleaners work fast and remove tough grime. Look for non-abrasive options designed for kitchen use. Use gloves and ventilate the area when applying chemicals.
Choosing natural or chemical depends on your rack’s material and cleaning needs. Both types can clean well with proper use.
Step-by-step Cleaning Process
Cleaning your drying dish rack doesn’t have to be a chore. Breaking the process down into simple actions makes it manageable and even satisfying. You’ll find your rack looking fresh and hygienic in no time by tackling it piece by piece.
Disassemble The Rack
Start by taking your drying rack apart. Removing the trays, racks, and any detachable parts lets you reach every nook and cranny. It’s easier to clean thoroughly when the rack is in pieces rather than one solid unit.
Have you ever noticed how grime hides in corners you can’t reach with the rack assembled? Disassembling helps avoid that problem and ensures nothing gets missed.
Soak And Scrub
Fill your sink or a large basin with warm water and add a few drops of dish soap. Let the rack parts soak for 10-15 minutes to loosen grease and dirt. This step softens buildup, making scrubbing more effective.
Use a soft brush or sponge to scrub each piece carefully. Pay attention to corners and grooves where residue likes to cling. If you spot mold or stubborn stains, sprinkle some baking soda on the brush for extra scrubbing power.
Rinse Thoroughly
Rinse every part under running water to wash away soap and loosened grime. Make sure no cleaning residue remains, as it can attract dirt later or leave a filmy layer. A thorough rinse guarantees your rack is truly clean and safe for your dishes.
Think about how often you rinse your dishes twice to avoid leftover soap—your drying rack deserves the same care.
Dry Completely
After rinsing, dry each part thoroughly with a clean towel or let them air dry in a well-ventilated spot. Moisture left on the rack invites mold and mildew, defeating the purpose of cleaning. Ensuring every piece is bone dry keeps your rack fresh and extends its lifespan.
How often do you check if your drying rack is fully dry before putting it back together? Taking a few extra minutes here can prevent musty smells and health issues down the line.
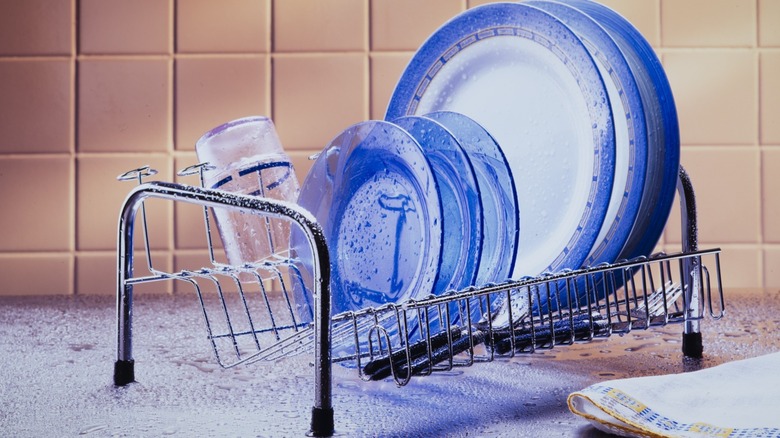
Removing Tough Stains And Mold
Tough stains and mold can build up on drying dish racks over time. Scrub the rack with a mix of vinegar and baking soda to remove grime and kill mold. Rinse well and dry completely to keep it clean and fresh.
Removing tough stains and mold from your drying dish rack can be a daunting task, but it’s essential for maintaining a clean and healthy kitchen environment. Dish racks, constantly exposed to water and food residues, can become breeding grounds for mold and stubborn stains. Addressing these issues not only prolongs the life of your dish rack but also ensures that your dishes remain hygienic.
Using Baking Soda And Vinegar
To tackle those stubborn stains and mold, baking soda and vinegar are your best friends. Start by sprinkling baking soda generously over the affected areas. The abrasive nature of baking soda helps loosen the mold and grime. Follow this by spraying vinegar over the baking soda. The fizzing action not only helps break down stains but also combats mold effectively. After letting the mixture sit for about 10 minutes, scrub the area with a brush or sponge, then rinse thoroughly with water. You might wonder, why baking soda and vinegar? They are both inexpensive and environmentally friendly alternatives to harsh chemicals. Plus, they are items you likely already have in your kitchen, making this method convenient and cost-effective.
Dealing With Rust Spots
Rust spots on your dish rack can be unsightly and problematic. Addressing rust promptly prevents it from spreading and keeps your dish rack looking pristine. Begin by applying a paste made of lemon juice and salt directly onto the rust spots. The acidity of the lemon juice combined with the coarse texture of salt works wonders in breaking down rust. Let the paste sit for about 30 minutes, allowing it to penetrate the rust. Then, use a scrub pad to gently scrub the spots. Rinse the area with water and dry thoroughly to prevent further rust formation. If you’re dealing with stubborn rust, consider using a commercial rust remover as a last resort. Does rust on your dish rack mean it’s time to throw it away? Not necessarily. With the right care, even rust can be managed, ensuring your dish rack serves you well for many more years.

Credit: www.yahoo.com
Maintaining A Clean Dish Rack
Keeping your drying dish rack clean helps maintain a healthy kitchen. A clean rack prevents bad smells and keeps dishes hygienic. Dirt and water spots can build up quickly, so regular care is important. Simple cleaning habits make a big difference.
Regular Cleaning Schedule
Set a routine to clean your dish rack. Wipe it down every few days with warm, soapy water. For deeper cleaning, soak the rack in vinegar or baking soda solution once a week. Dry it completely before using it again. This routine stops dirt and grime from piling up.
Preventing Mold And Mildew
Mold and mildew grow in wet, dark places like dish racks. Keep your rack dry by wiping off water after each use. Place the rack in a well-ventilated area. Use a brush to clean corners and holes where moisture hides. Regular cleaning stops mold from growing and keeps your kitchen safe.
Alternative Drying Solutions
Looking for a way to dry your dishes without the hassle of cleaning a drying rack? Alternative drying solutions can save you time and keep your kitchen cleaner. These options are easy to maintain and often more hygienic than traditional racks.
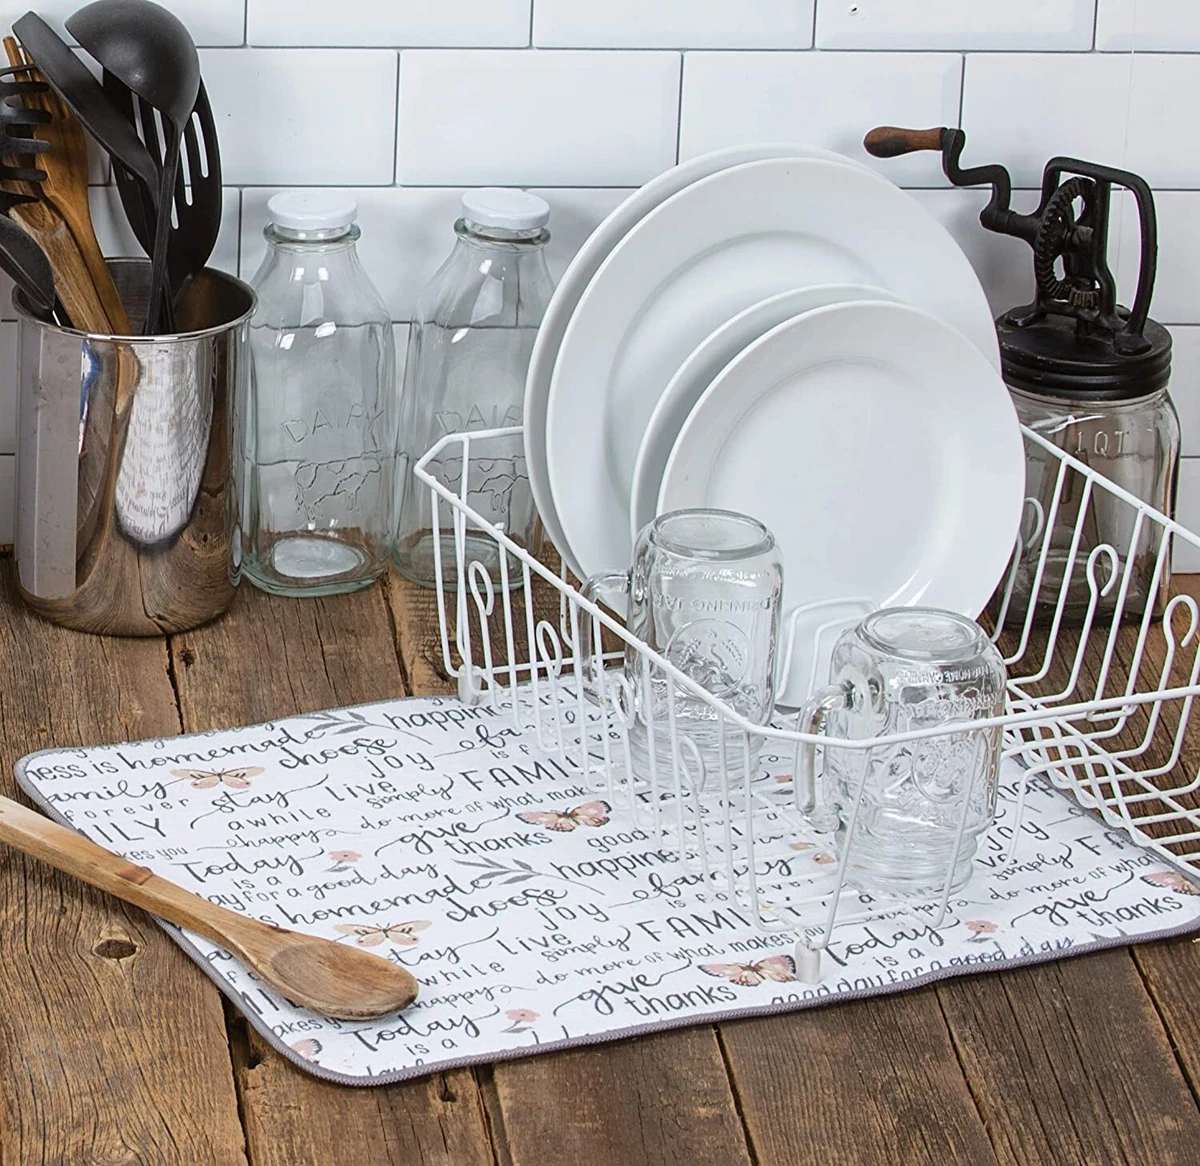
Silicone Mats
Silicone mats provide a flexible surface to dry your dishes. They are easy to clean—just rinse or wipe them down after use. Because silicone is non-porous, it resists mold and mildew better than many drying racks.
These mats are also space-savers. You can roll them up and store them away when not in use. Have you tried using one for your cups or utensils? They keep water contained, preventing drips on your countertop.
Dish Drying Towels
Dish drying towels offer a soft, absorbent way to dry your dishes quickly. They are lightweight and can be washed with your regular laundry, making them a hygienic choice. Plus, they don’t take up counter space.
Choose towels made from microfiber or cotton for the best absorbency. You might be surprised at how much faster dishes dry without a rack. Have you considered switching to towels to cut down on cleaning time?
Credit: tiendasmbs.com
Credit: www.tastingtable.com
Frequently Asked Questions
How Often Should I Clean My Drying Dish Rack?
Clean your drying dish rack weekly to prevent mold and bacteria buildup. Regular cleaning keeps it hygienic and odor-free.
What Materials Are Best For Cleaning A Dish Rack?
Use mild dish soap, white vinegar, and baking soda. These materials effectively remove grime without damaging the rack.
Can I Use Bleach To Clean My Drying Dish Rack?
Avoid bleach as it may damage some rack materials. Instead, use natural cleaners like vinegar and baking soda for safe cleaning.
How Do I Remove Rust From A Metal Dish Rack?
Scrub rust spots with a paste of baking soda and water. Rinse thoroughly and dry the rack completely to prevent future rust.
Conclusion
Cleaning your drying dish rack keeps it fresh and safe for daily use. Regular washing stops mold and bad smells from building up. Use simple tools like soap, water, and a brush for best results. Dry the rack well to prevent rust and bacteria growth.
A clean rack helps your dishes dry faster and stay clean. Make this a small habit to keep your kitchen healthy and neat. Easy steps, big difference.