
Are your kitchen drawers a messy jumble of utensils, gadgets, and random bits? You’re not alone—and the good news is, you can fix it yourself.
Imagine opening your drawer and instantly finding exactly what you need, without the frustration or wasted time. Making your own kitchen drawer organizer is easier than you think, and it will transform your cooking space into a neat, stress-free zone.
In this guide, you’ll discover simple steps to create a custom organizer that fits your needs perfectly. Ready to take control of your kitchen chaos? Let’s get started!
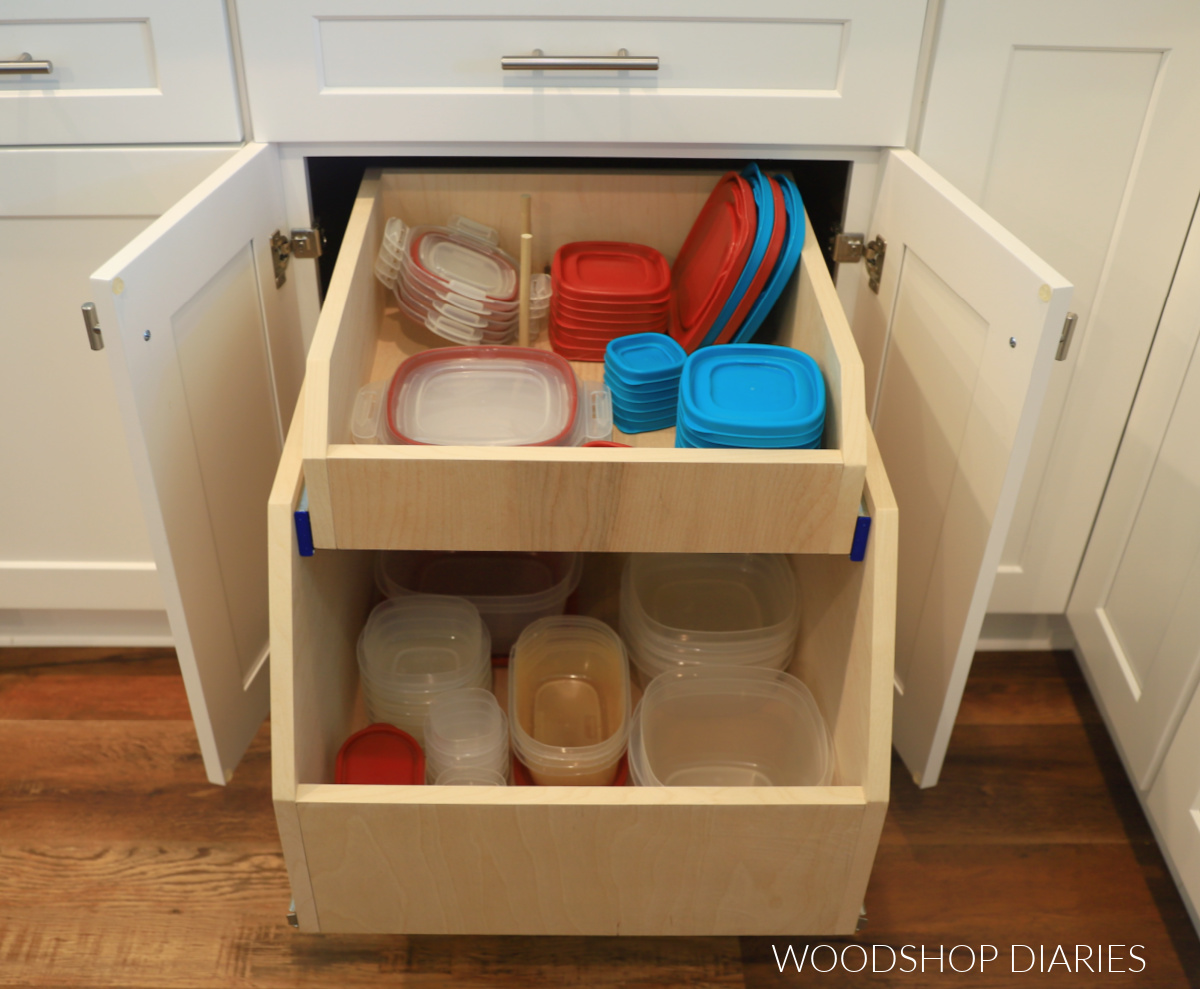
Credit: www.woodshopdiaries.com
Choosing Materials
Choosing the right materials affects the durability and look of your kitchen drawer organizer. It also impacts how easy the organizer is to clean and maintain. Selecting materials that suit your needs ensures the final product lasts long and fits well in your kitchen space.
Consider the type of use your organizer will get. Think about moisture, weight, and style. These factors guide your material choice for a practical and attractive organizer.
Wood Options
Wood is a popular choice for drawer organizers. It is strong and offers a classic look. Common wood types for this project include:
- Pine: Affordable and easy to work with. Soft but durable enough.
- Birch: Smooth finish and light color. Good for painting or staining.
- Oak: Hard and sturdy. Great for heavy use but costs more.
- Bamboo: Eco-friendly and resists moisture. A modern option.
Wood can be cut and shaped easily with basic tools. You can sand and finish it for a smooth feel. It also allows customization with stains or paint.
Alternative Materials
Other materials offer different benefits. These might suit certain kitchen styles or budgets better. Some alternatives include:
- Plastic: Lightweight and water-resistant. Easy to clean but less sturdy.
- Metal: Durable and sleek. Good for modern kitchens but may scratch.
- Foam: Soft and flexible. Protects utensils but less durable.
- Cardboard: Cheap and easy for temporary use. Not water-resistant.
Choose alternatives based on how much wear and tear your organizer will face. Think about matching the kitchen’s style too.
Tools Needed
Using the right tools makes the project easier and more precise. Basic tools needed include:
- Measuring tape or ruler for accurate dimensions
- Hand saw or electric saw to cut wood or plastic
- Sandpaper for smoothing edges
- Wood glue or strong adhesive for joining parts
- Clamps to hold pieces while drying
- Paintbrushes if you plan to paint or stain
Safety equipment such as gloves and goggles protects you during work. Preparing tools beforehand saves time and helps create a neat organizer.
Measuring Your Drawer
Measuring your drawer accurately is the foundation of creating a functional kitchen drawer organizer. Without precise measurements, your organizer may not fit well, wasting space or making it hard to use. Taking the time to measure carefully ensures every utensil and tool will have a perfect spot.
Taking Accurate Measurements
Start by clearing out your drawer completely. Use a tape measure to record the length, width, and depth inside the drawer, measuring from wall to wall. Don’t rely on the drawer’s outer dimensions, as internal space is what truly matters.
Double-check your numbers by measuring twice or even three times. Small errors can cause big problems, like sections that are too narrow or too wide. If your drawer isn’t perfectly rectangular, note any irregularities or curves that might affect your design.
Planning The Layout
Think about what you want to store and how often you use each item. Group similar utensils together, such as knives, spoons, and measuring tools. This will help you decide how many compartments you need and their sizes.
Sketch a simple layout on paper using your measurements. Experiment with different compartment sizes to maximize space. Ask yourself: Would a shallow, wide section work better for spatulas, or do you need deeper slots for tall items?
Designing The Organizer
Designing a kitchen drawer organizer is a creative process. It transforms a cluttered drawer into a neatly arranged space. A well-designed organizer helps you find utensils quickly. It also makes your kitchen look tidy and appealing. Let’s explore how to design an effective organizer.
Deciding On Compartments
First, evaluate your drawer’s space. Measure its length, width, and depth accurately. This helps you decide how many compartments you need. Think about the items you want to store. Group similar items together. This will help in creating specific sections for each group.
Consider using dividers to separate the compartments. Adjustable dividers provide flexibility. You can change them as needed. Use materials like wood, plastic, or metal for durability. Choose colors that match your kitchen décor.
Customizing For Utensils
Customizing compartments for utensils is essential. Start by listing your most-used utensils. Consider their sizes and shapes. Create slots that fit them perfectly. This prevents them from moving around. For longer utensils, design a longer compartment. Shorter compartments work well for small items like measuring spoons.
Think about the accessibility of each utensil. Place frequently used items in the front. Less-used items can go towards the back. Use drawer liners to prevent slipping. Liners also protect the drawer from scratches.
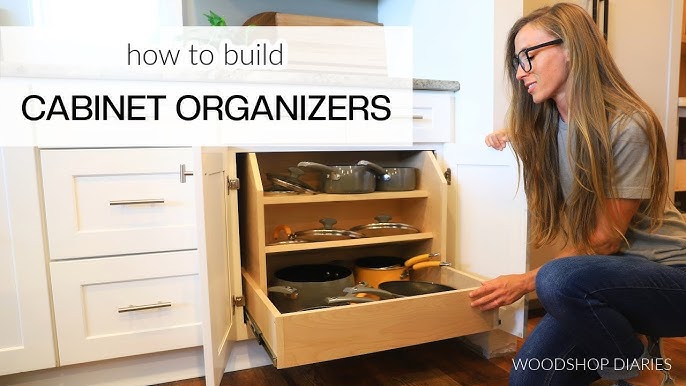
Credit: www.youtube.com
Cutting And Assembling
Cutting and assembling your kitchen drawer organizer is where your vision starts to take shape. Precision in cutting and strength in joining will determine how well your organizer fits and lasts. Paying attention to these steps saves you time and frustration later.
Cutting Techniques
Use a sharp saw to get clean, straight cuts. A miter box or a guide rail helps keep your cuts accurate, especially if you’re working with thin wood strips.
Mark your measurements clearly with a pencil before cutting. Double-check these marks to avoid mistakes—cutting a piece too short can ruin your whole project.
Try cutting a scrap piece first to test your saw’s settings and your technique. It’s a simple trick that prevents costly errors and builds your confidence.
Joining Pieces Securely
Choose the right type of adhesive for your materials; wood glue is usually best for wooden organizers. Apply it evenly and clamp pieces together until the glue fully dries.
For extra strength, add small nails or screws, especially at corners. Pre-drill holes to avoid splitting the wood and keep your organizer sturdy.
Think about how you want your organizer to handle daily use. Will it hold heavy utensils or just light items? This affects how securely you need to join the pieces.
Finishing Touches
Finishing touches are what transform a simple kitchen drawer organizer into a polished, durable piece that fits seamlessly into your kitchen. These final steps protect your work and enhance its appearance, making your organizer both functional and beautiful. Paying attention to the details here can make a big difference in how your project holds up over time.
Sanding And Smoothing
After assembling your organizer, take the time to sand every surface thoroughly. Start with medium-grit sandpaper to remove rough spots and any glue residue, then move to fine-grit for a smooth finish. Running your hand over the surfaces will help you feel any bumps or splinters you might have missed.
Sanding isn’t just about looks—it also helps the paint or stain adhere better. Don’t rush this step; a well-sanded surface means a more professional and longer-lasting finish. Have you ever skipped sanding only to regret uneven paint? Avoid that by being patient here.
Adding Paint Or Stain
Choosing between paint or stain depends on your kitchen’s style and the wood type of your organizer. Paint offers a variety of colors and a solid finish, perfect if you want a pop of color or need to cover imperfections. Stain enhances the wood’s natural grain and gives a warm, classic look.
Apply thin, even coats with a brush or cloth and allow each layer to dry completely before adding another. This approach prevents drips and uneven coloring. Consider sealing with a clear polyurethane finish to protect against moisture and daily wear—especially important in a kitchen environment.
Have you thought about how your choice of finish will affect cleaning and maintenance? Selecting the right finish can save you time and effort keeping your organizer looking new.
Installing The Organizer
Installing your kitchen drawer organizer is a key step to making sure your utensils and tools stay neat and easy to find. It’s not just about dropping the organizer inside; you want it to fit perfectly and stay put even with daily use. Let’s look at how to fit the organizer inside your drawer and secure it for long-lasting stability.
Fitting Inside The Drawer
Start by measuring the inside of your drawer precisely. If your organizer is slightly too big, it won’t fit, and if it’s too small, it will slide around and defeat the purpose.
Place the organizer inside and check for any tight spots or gaps. You might need to sand down rough edges or trim parts of the organizer if it’s made from wood or plastic. Don’t rush this step; a snug fit will keep everything in place.
Have you ever had an organizer that shifted every time you opened the drawer? That’s usually because of poor fitting. Taking a few extra minutes here saves frustration later.
Securing For Stability
Once the organizer fits well, it’s time to secure it. You want to prevent it from sliding when you open or close the drawer.
- Non-slip pads:Stick felt or rubber pads underneath the organizer. These create friction and keep it from moving.
- Double-sided tape:Use strong double-sided tape for a more permanent hold without damaging the drawer.
- Screws or brackets:If your organizer is wooden, small screws or brackets can anchor it firmly. Just make sure you don’t interfere with the drawer’s sliding mechanism.
Think about how often you use that drawer. If it’s a high-traffic area, investing time in securing the organizer will pay off. What’s your experience with drawers that won’t stay organized? This step can be a game changer.
Maintenance Tips
Proper care keeps your kitchen drawer organizer functional and tidy. Regular maintenance extends its life and keeps it looking fresh. Simple habits prevent dirt buildup and damage. Follow easy steps to maintain your organizer efficiently.
Cleaning Your Organizer
Remove all items before cleaning. Use a soft cloth or sponge with mild soap. Wipe the surfaces gently to avoid scratches. Dry the organizer completely to prevent moisture damage. Avoid harsh chemicals that can weaken materials. Clean frequently to stop grime from settling.
Repairing Minor Damages
Inspect your organizer for cracks or loose parts regularly. Use wood glue for small splits or breaks. Clamp the parts until the glue dries fully. Replace any broken dividers or sections with similar materials. Sand rough edges to prevent splinters. Address problems early to avoid bigger repairs later.

Credit: www.woodshopdiaries.com
Frequently Asked Questions
What Materials Do I Need For A Kitchen Drawer Organizer?
You need wood, measuring tape, saw, sandpaper, wood glue, nails, and paint. These materials help create a sturdy, customized drawer organizer.
How Do I Measure My Kitchen Drawer For An Organizer?
Measure the drawer’s width, depth, and height accurately. Proper measurements ensure the organizer fits perfectly without wasting space.
Can I Customize A Kitchen Drawer Organizer Design?
Yes, you can customize sizes and compartments to fit utensils and tools. Customization improves organization based on your kitchen needs.
How Long Does It Take To Make A Drawer Organizer?
It usually takes 2 to 4 hours depending on design complexity. Simple organizers require less time and basic tools.
Conclusion
Making a kitchen drawer organizer saves time and reduces clutter. You can customize it to fit your needs and space. Using simple tools and materials keeps the project easy and fun. Organized drawers help you find items quickly every day.
Try this project to bring order to your kitchen. Small changes make a big difference in daily life. Start today and enjoy a tidier kitchen tomorrow.