Is your dish drying rack looking grimy or starting to smell? You use it every day, but cleaning it often gets overlooked.
A dirty drying rack can harbor bacteria and make your kitchen less hygienic. Don’t worry—cleaning your dish drying rack is easier than you think. You’ll discover simple and effective ways to keep your drying rack fresh and sparkling. Keep reading, and you’ll learn how to make your kitchen cleaner and safer with just a few easy steps.
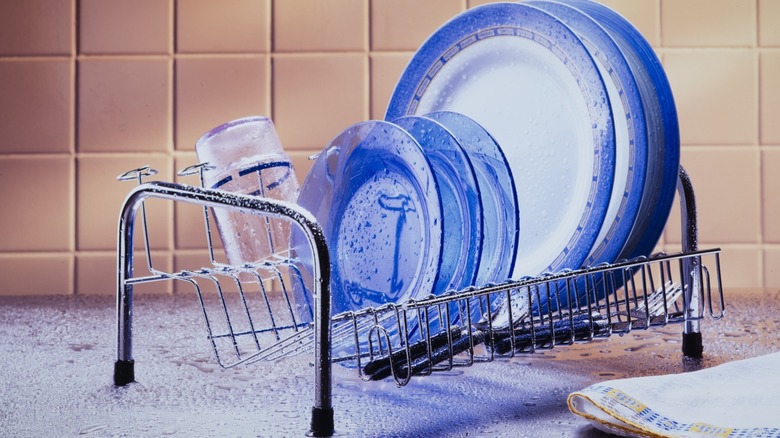
Credit: www.homedepot.com
Choose The Right Cleaning Supplies
Choosing the right cleaning supplies is key to keeping your dish drying rack spotless. Using proper tools and safe cleaning agents helps remove grime and bacteria effectively. It also protects the rack’s material from damage. A good cleaning routine starts with selecting supplies that work well together.
Essential Cleaning Tools
- Soft scrub brush or sponge – reaches corners without scratching
- Old toothbrush – cleans small, tight spaces
- Microfiber cloth – dries rack and removes residue
- Bucket or basin – holds warm water for soaking
- Gloves – protect your hands from harsh substances
Safe Cleaning Agents
- Mild dish soap – breaks down grease gently
- White vinegar – naturally kills bacteria and removes odor
- Baking soda – scrubs without damaging surfaces
- Hydrogen peroxide – disinfects and brightens without harsh chemicals
- Warm water – helps dissolve dirt and soap
Disassemble The Rack
Disassembling your dish drying rack is a crucial first step before diving into a thorough cleaning. Taking it apart allows you to reach hidden spots where grime and mold love to hide. It also makes the cleaning process much easier and more effective.
Remove Removable Parts
Start by taking off any detachable components like trays, utensil holders, and racks. Most dish drying racks have parts that snap or slide out easily. If you encounter resistance, check for clips or screws that may need loosening.
Keep track of all the pieces by placing them on a clean surface or in a container. This prevents losing small parts during cleaning. Have you ever cleaned a rack only to find a missing utensil holder later? Avoid that hassle by organizing your parts upfront.
Prepare For Cleaning
Once disassembled, rinse each part with warm water to remove loose debris. This step helps soften stuck-on food particles and soap scum. Using a mild detergent or a mixture of vinegar and water prepares your rack for a deeper scrub.
Gather cleaning tools like a soft brush, sponge, or old toothbrush to reach tight corners. Avoid abrasive scrubbers that could damage the rack’s surface. Do you have a favorite cleaning tool that works wonders on stubborn spots? Now’s the time to use it.
Basic Cleaning Steps
Remove all dishes and rinse the rack with warm water. Scrub gently with soap and a soft brush to clear dirt. Rinse well and dry completely before use.
Cleaning your dish drying rack is essential for maintaining hygiene in your kitchen. Over time, racks accumulate residue and germs. Regular cleaning ensures your rack remains spotless and safe for dishes. Let’s explore some straightforward cleaning steps that can help keep your dish drying rack in top condition.
Soak In Warm Soapy Water
Start by filling your sink with warm water. Add a few drops of mild dish soap to it. Place the drying rack into the soapy water. Let it soak for at least 15 minutes. This helps loosen any stuck-on grime or food particles. Make sure the water covers every part of the rack.
Scrub Away Residue
Use a soft-bristled brush or sponge. Gently scrub the rack to remove residue. Focus on corners and crevices where dirt might collect. Rinse with clean water to wash away soap and loosened debris. Dry thoroughly with a clean towel to prevent rust or water spots. Repeat this process weekly for best results.
Deep Cleaning Techniques
Deep cleaning your dish drying rack is essential to keep it free from grime, bacteria, and stubborn mineral buildup. It’s easy to overlook this task, but a thorough clean can extend the life of your rack and ensure your dishes stay hygienic. Let’s look at two simple, effective techniques using common household items that you probably already have.
Use Vinegar For Mineral Deposits
Hard water often leaves behind mineral deposits that look like white, chalky stains on your drying rack. Vinegar is a natural acid that dissolves these deposits without harsh chemicals.
Fill a basin or sink with equal parts white vinegar and warm water. Soak your drying rack in this mixture for 30 to 60 minutes. After soaking, scrub gently with a soft brush or sponge to remove loosened deposits.
Rinse the rack thoroughly with clean water and dry it completely before use. Have you noticed your rack getting rough or crusty? Vinegar can bring back the smooth surface quickly.
Apply Baking Soda For Stains
Stains and stuck-on food particles can make your drying rack look dirty even after rinsing. Baking soda acts as a gentle abrasive and deodorizer to tackle these spots.
Sprinkle baking soda over the damp rack or create a paste by mixing baking soda with a little water. Use a sponge or an old toothbrush to scrub the stained areas in small circular motions.
Once you see the stains lifting, rinse the rack well and wipe it dry. Have you ever tried baking soda to clean stubborn stains in your kitchen? It often surprises people how well it works without damaging surfaces.
Drying And Maintenance
Proper drying and regular maintenance keep your dish drying rack clean and lasting longer. Moisture can cause rust, mold, and unpleasant smells. Drying the rack correctly prevents water buildup and keeps your kitchen hygienic. Routine cleaning removes food particles and soap scum, maintaining a fresh look.
Proper Drying Methods
After washing, dry the dish rack thoroughly. Use a clean towel to wipe off all water. Place the rack in a well-ventilated area. Avoid leaving it in damp spots or closed cabinets. Air drying under sunlight also helps kill bacteria and prevent odors. Make sure all parts are completely dry before reassembling.
Routine Cleaning Tips
- Clean the rack weekly to stop dirt buildup.
- Use warm water and mild soap for washing.
- Scrub corners and small holes with a brush.
- Rinse well to remove soap residue.
- Dry immediately with a towel or air dry.
- Remove any rust spots promptly to avoid spread.
- Check rubber or plastic parts for wear and replace if needed.

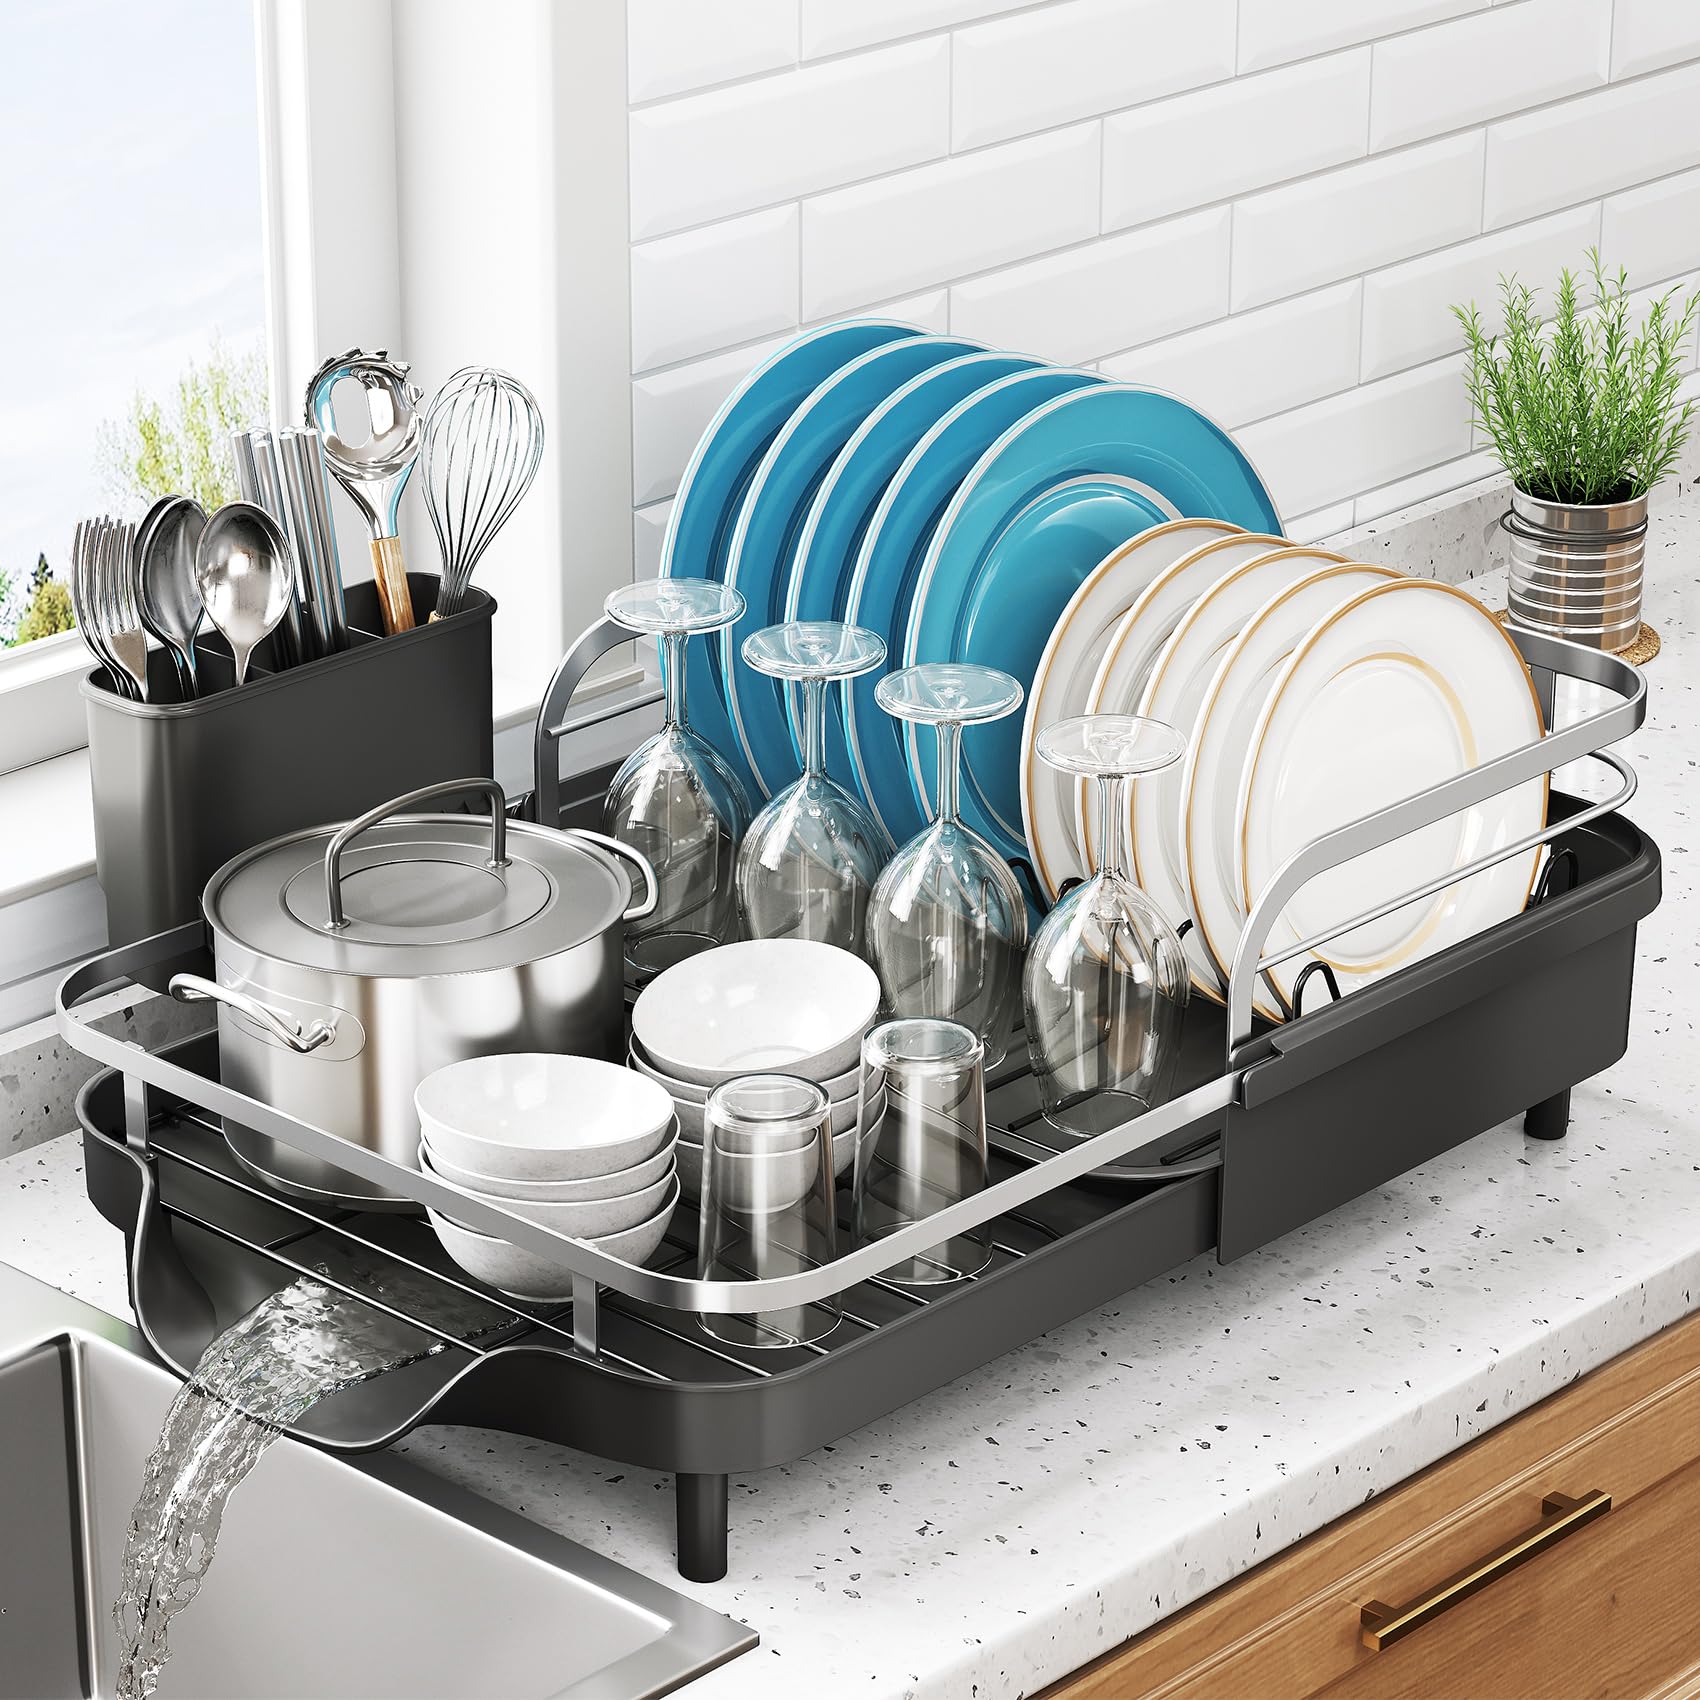
Credit: www.facebook.com
Preventing Mold And Mildew
Mold and mildew love damp, dark places—your dish drying rack can easily become their perfect home if you’re not careful. Preventing these unwelcome guests is essential not only for hygiene but also to keep your kitchen smelling fresh and your dishes safe. Let’s dive into simple habits that stop mold and mildew before they start.
Keep Rack Dry
Water left sitting on your dish rack creates a breeding ground for mold. After washing dishes, wipe down the rack with a dry towel to remove excess moisture. Try to empty any drip trays regularly and allow them to dry completely between uses.
Have you noticed how quickly a wet sponge starts to smell? Your dish rack behaves similarly. Keeping it dry is the easiest way to prevent that musty odor and mold buildup.
Improve Air Circulation
Good airflow helps your dish rack dry faster and stops moisture from lingering. Place your drying rack near a window or in a well-ventilated area to encourage air movement. Avoid cramming dishes too tightly; spacing them out lets air flow freely around each item.
If your kitchen tends to be humid, consider using a small fan or dehumidifier nearby. This extra step can drastically reduce the chance of mold forming on your drying rack.
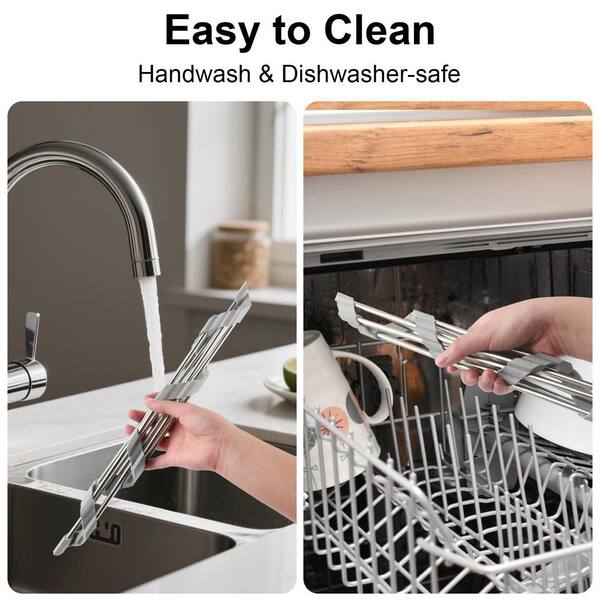
Credit: www.amazon.com
Frequently Asked Questions
How Often Should I Clean My Dish Drying Rack?
Clean your dish drying rack weekly to prevent mold and bacteria buildup. Regular cleaning keeps it hygienic and odor-free.
What Is The Best Way To Clean A Dish Drying Rack?
Use warm soapy water and a soft brush to scrub all surfaces. Rinse thoroughly and air dry completely before use.
Can I Use Vinegar To Clean A Dish Drying Rack?
Yes, vinegar is effective for removing mineral deposits and disinfecting. Wipe the rack with vinegar, let sit, then rinse well.
How Do I Remove Mold From A Dish Drying Rack?
Scrub the moldy areas with a mixture of baking soda and water. Rinse thoroughly and dry immediately to stop mold growth.
Conclusion
Cleaning your dish drying rack keeps it fresh and free from germs. Regular washing stops mold and bad smells from building up. Use simple soap and warm water for quick cleaning. Dry the rack well before using it again. This small habit helps your kitchen stay clean and safe.
Keep your rack neat, and your dishes will dry better. A clean rack means a healthier home. Try to clean it weekly for best results. Easy steps, big difference.