
Are you tired of messy kitchen drawers where you can never find what you need? Imagine opening your drawer and instantly seeing everything neat and in its place.
You don’t have to spend a lot of money to make this happen. In fact, creating a drawer organizer for your kitchen can be simple, affordable, and fun. Keep reading, and you’ll discover easy steps to build a practical organizer that saves you time, reduces stress, and makes your kitchen feel brand new.
Ready to transform your drawers without breaking the bank? Let’s get started!
Choosing Materials On A Budget
Choosing the right materials keeps your kitchen drawer organizer affordable. Budget-friendly materials can still offer strength and style. Planning your materials helps avoid overspending. Focus on items that are easy to cut and assemble. Lightweight materials make handling simpler. Durability is important for daily kitchen use.
Affordable Materials For Organizers
Wood is a popular choice for drawer organizers. Plywood and MDF boards are cost-effective and easy to work with. Plastic trays or containers from discount stores fit well inside drawers. Cardboard can be a temporary solution, especially for light items. Foam boards offer a lightweight and inexpensive option.
- Thin plywood sheets
- Plastic storage bins
- Cardboard pieces
- Foam boards
- Wire racks or baskets
Choose materials that suit your drawer size and the items you want to organize. Pick something that lasts but doesn’t break the bank.
Repurposing Household Items
Use old containers and boxes to save money. Egg cartons work well for small items like spices or utensils. Shoe boxes can be cut and shaped into compartments. Ice cube trays help organize tiny kitchen tools. Old plastic containers and lids can be cleaned and reused.
- Egg cartons for small sections
- Shoe boxes cut into dividers
- Ice cube trays for tiny tools
- Cleaned plastic containers
- Cardboard boxes from deliveries
Look around your home for items you no longer use. Repurposing helps reduce waste and saves money at the same time.
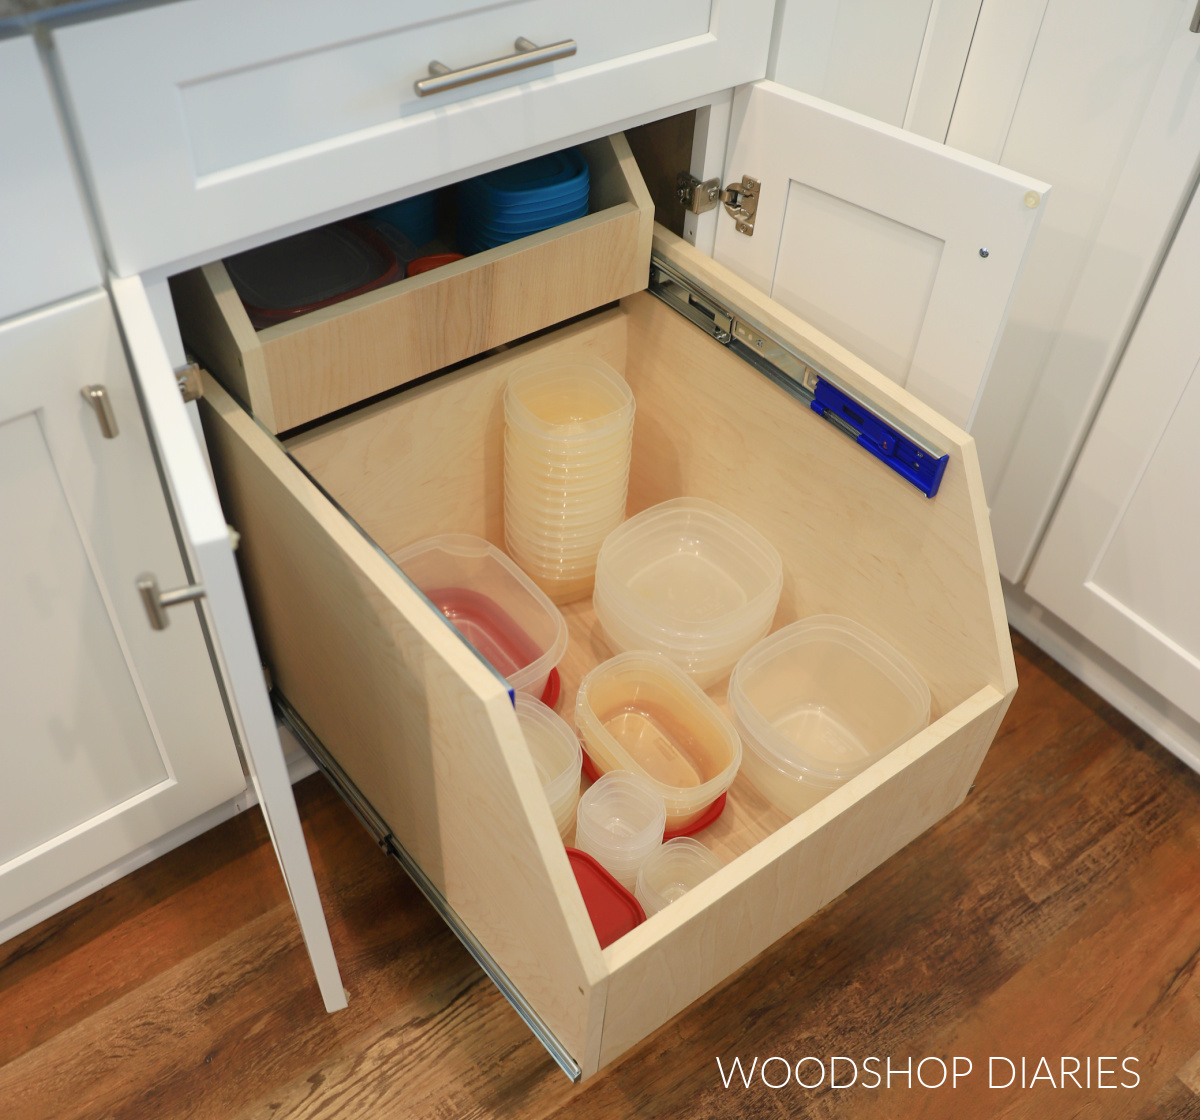
Credit: www.woodshopdiaries.com
Planning Your Organizer Layout
Planning your kitchen drawer organizer layout helps create order and saves space. A clear plan guides your measurements and design. It ensures each item fits perfectly and stays easy to find.
Measuring Drawer Dimensions
Start by measuring the inside of your drawer carefully. Use a tape measure for length, width, and depth. Write down each number clearly. Measure at several points to check for uneven walls. These numbers decide the size of your organizer compartments.
Deciding On Compartments
Think about what items you want to store inside the drawer. Group similar items like utensils, spices, or gadgets. Sketch a simple layout on paper. Draw rectangles for each compartment based on item size. Leave space for bigger tools or odd shapes. This plan helps cut materials accurately and keeps items tidy.
Simple Diy Techniques
Creating a kitchen drawer organizer can be simple and budget-friendly. Use cardboard or wood scraps to build compartments that fit your utensils perfectly. This easy project keeps your kitchen neat without spending much money.
Creating a drawer organizer for your kitchen doesn’t have to break the bank. With some simple DIY techniques, you can transform your cluttered drawers into organized spaces that make finding utensils a breeze. You might be surprised how a few hours of DIY can add efficiency and satisfaction to your daily kitchen routine. Let’s dive into some practical steps that you can take right now.
Cutting And Assembling Parts
Begin by measuring the dimensions of your drawer. Accurate measurements ensure your organizer fits perfectly. Use a tape measure to get the length, width, and height of the interior. Once you have your dimensions, mark them on a piece of plywood or MDF. Cut the pieces with a handsaw or a jigsaw, ensuring straight edges. You can use sandpaper to smooth out any rough edges after cutting. Assemble the cut pieces into your desired organizer layout. Think about the items you’ll store and plan compartments accordingly. I remember the first time I did this, I realized I needed more space for spatulas than I initially thought. Consider your cooking habits to guide your layout.
Using Adhesives And Fasteners
Once your parts are cut and arranged, it’s time to secure them. Using wood glue is a cost-effective way to join pieces. Apply a thin layer along the edges that need joining and press them together firmly. For added strength, you might want to use small nails or screws. They provide extra stability, especially for larger compartments. Make sure to pre-drill holes to prevent the wood from splitting. Let the adhesive dry for the recommended time before placing the organizer in your drawer. A sturdy organizer can make a significant difference in keeping your kitchen clutter-free. Have you ever thought about how a simple DIY project can enhance your daily routine? Taking these steps can lead to a more organized and enjoyable cooking space.
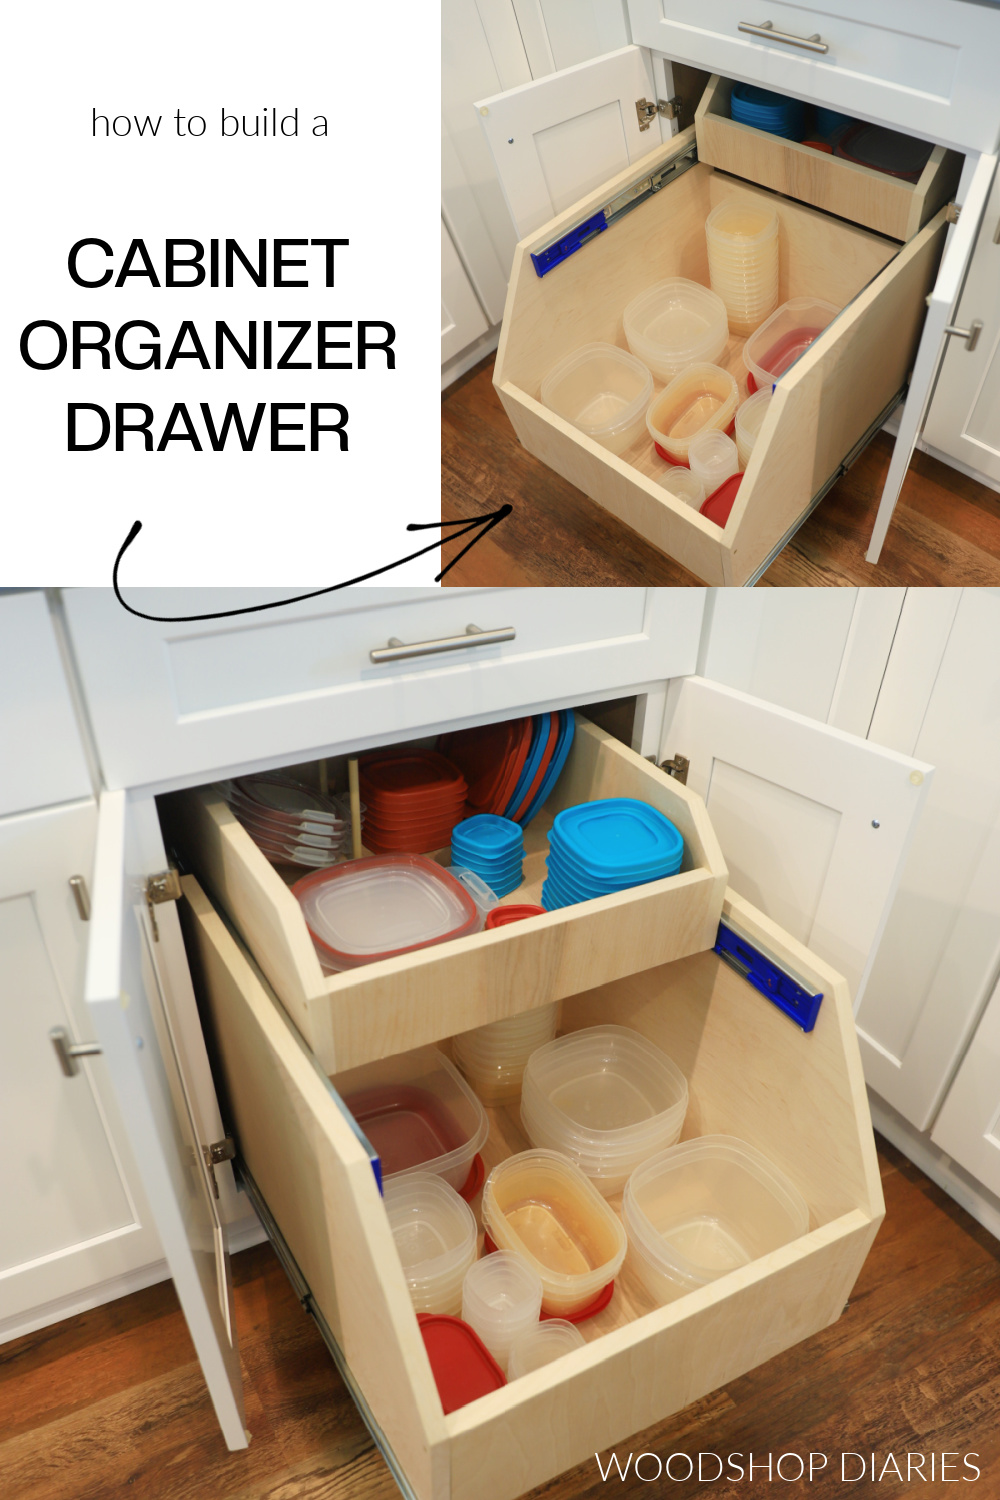
Credit: www.woodshopdiaries.com
Creative Hacks For Customization
Personalizing your kitchen drawer organizer makes it both useful and visually appealing. Simple changes can reflect your style and improve organization. Creative customization hacks help you create a unique space without spending much money.
Painting And Decorating
Give your drawer organizer a fresh look with paint. Use bright colors to make it cheerful or soft tones for a calm feel. Choose water-based paints for easy cleaning and safe use around food. Try patterns like stripes or dots to add fun details.
Decorate with washi tape or stickers for quick changes. These materials are cheap and come in many designs. You can switch them out anytime to match seasons or moods.
Adding Labels And Dividers
Labels help find items fast and keep everything in place. Use clear, simple fonts for easy reading. Write labels by hand or print them on paper. Cover with clear tape to protect from spills.
Dividers separate spaces inside the drawer. Use cardboard, foam board, or old plastic containers. Cut to fit and arrange to hold utensils, spices, or gadgets. Adjustable dividers allow flexibility as needs change.
Maintaining And Updating Organizers
Keeping your kitchen drawer organizer in top shape isn’t just about building it right—it’s about maintaining and updating it over time. A well-kept organizer saves you time and keeps your kitchen clutter-free. Plus, adapting it to your changing needs ensures it stays useful as your kitchen habits evolve.
Cleaning Tips
Regular cleaning extends the life of your organizer and keeps your utensils hygienic. Use a damp cloth with mild soap to wipe down surfaces weekly. Avoid harsh chemicals that could damage wood or plastic materials.
For sticky spots or crumbs, try a toothbrush or small brush to reach tight corners. Let the organizer dry completely before placing items back inside to prevent mold or mildew. Have you noticed crumbs piling up in your drawers? A quick wipe after each meal prep can make a big difference.
Adjusting For Changing Needs
As your cooking style or kitchen tools change, so should your organizer. Consider adding removable dividers or small containers to create flexible compartments. This way, you can easily rearrange or add space for new gadgets without rebuilding the entire organizer.
If you start using more baking tools, for example, shift your layout to accommodate measuring spoons and silicone spatulas. Or, if you switch to meal prepping, reserve a section for reusable storage bags and clips. What new kitchen tools have you recently added that need a home?

Credit: www.familyhandyman.com
Frequently Asked Questions
What Materials Are Best For Cheap Kitchen Drawer Organizers?
Affordable materials like cardboard, foam board, and recycled wood work well. They are easy to cut, shape, and customize to fit your drawers perfectly.
How Can I Customize Drawer Organizers To Fit My Kitchen Needs?
Measure your drawer dimensions first. Then, design compartments based on the utensils and tools you want to store, ensuring efficient use of space and easy access.
What Tools Do I Need To Build A Kitchen Drawer Organizer?
Basic tools like a utility knife, ruler, pencil, and glue are enough. For wood projects, a saw and sandpaper may be required.
How Do I Maintain And Clean My Homemade Drawer Organizer?
Wipe regularly with a damp cloth to remove dust and debris. Avoid soaking or harsh chemicals to keep materials intact and durable.
Conclusion
Making a cheap kitchen drawer organizer saves money and time. You only need simple materials and a little effort. Organizing your drawers keeps utensils neat and easy to find. Small changes make your kitchen feel more tidy and pleasant. Try this easy project to improve your space today.
It’s a smart way to stay organized without spending much. Your kitchen will look better and work smoother. Give it a go and enjoy the benefits of order. Simple steps lead to great results.